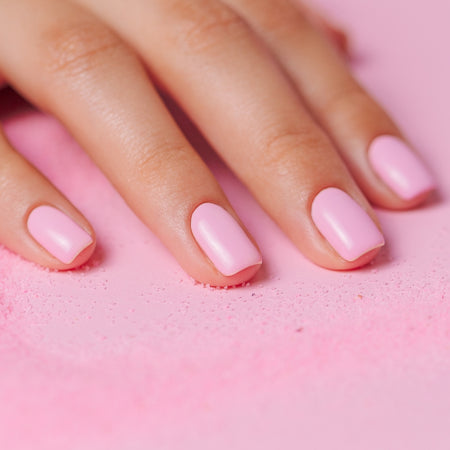
How To Apply
Original Nail Wraps
Prep
Step 1
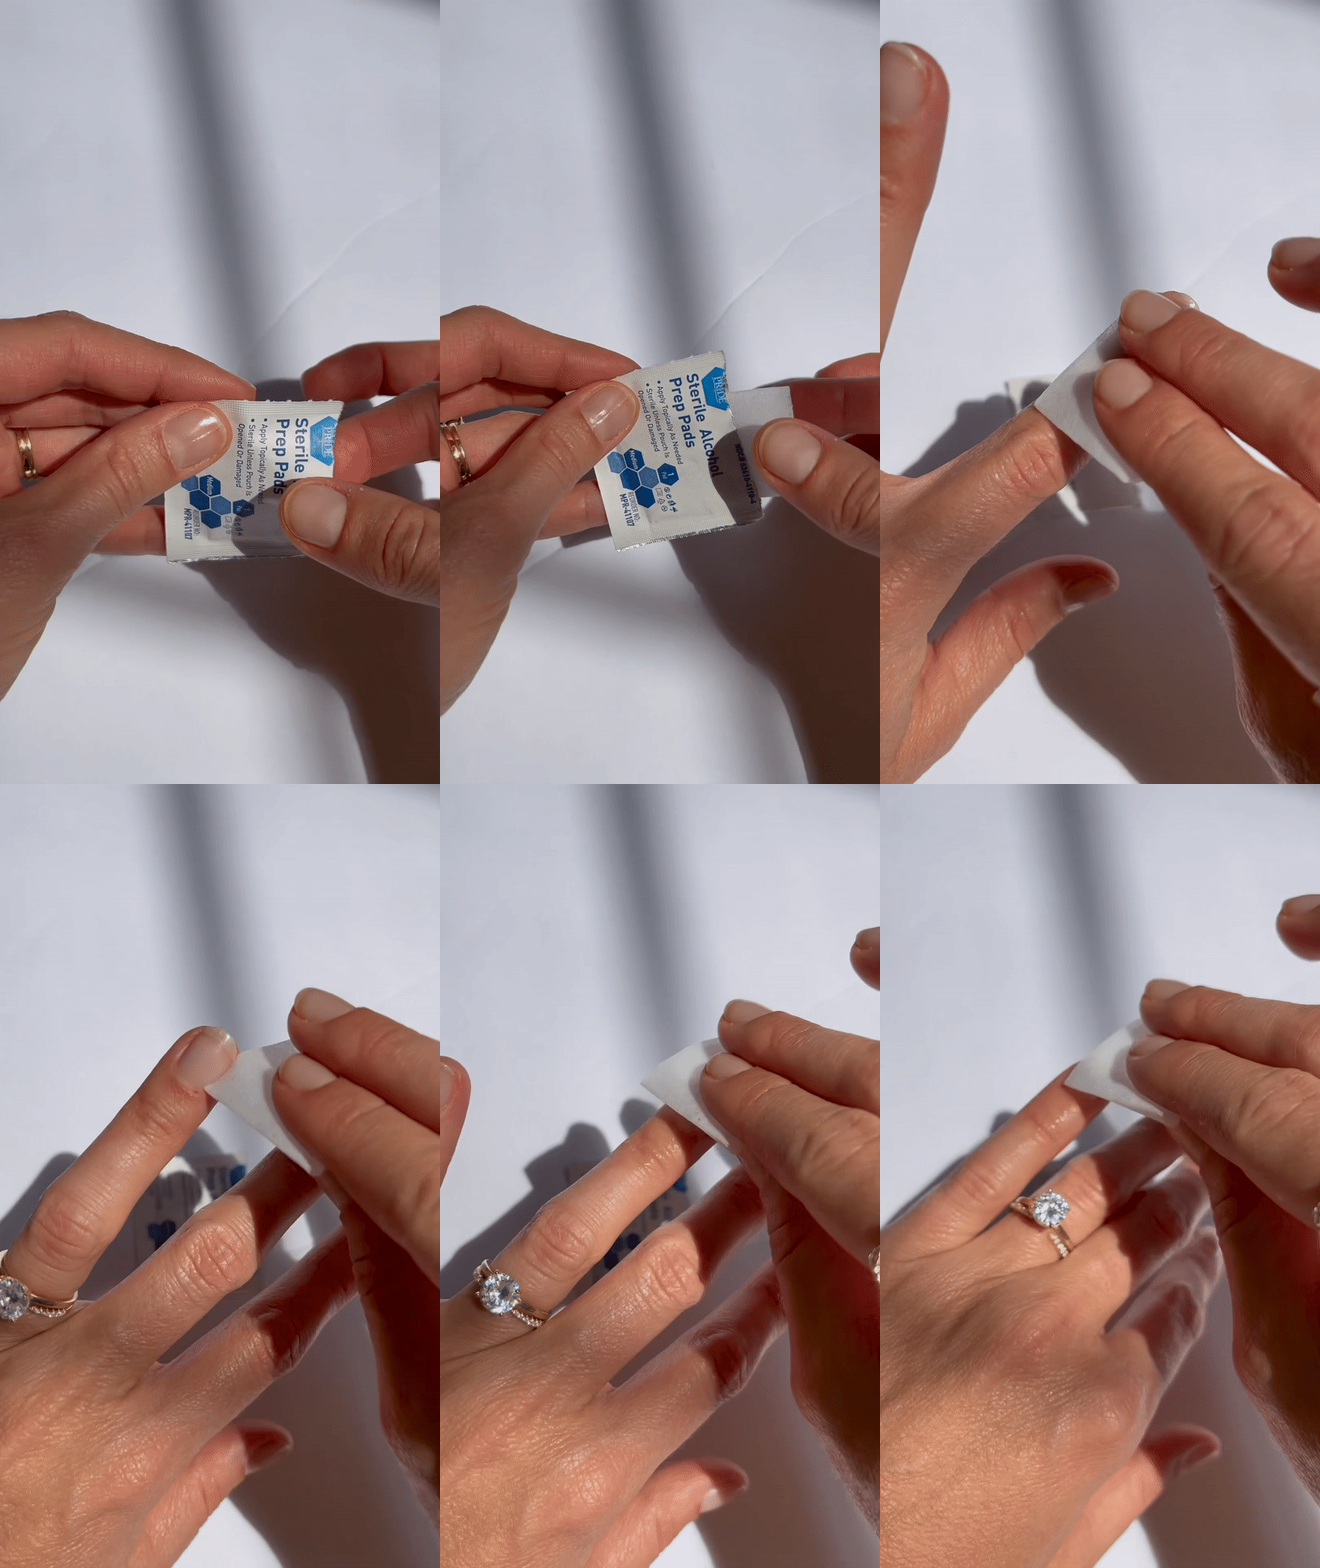
Start with clean, filed nails. Swipe nails with an alcohol prep pad to remove excess oils & debris from nail beds. This will allow for a better adhesion.
Tip: Avoid moisturizers, cuticle oils and water at least an hour before application.
foundation
Step 2
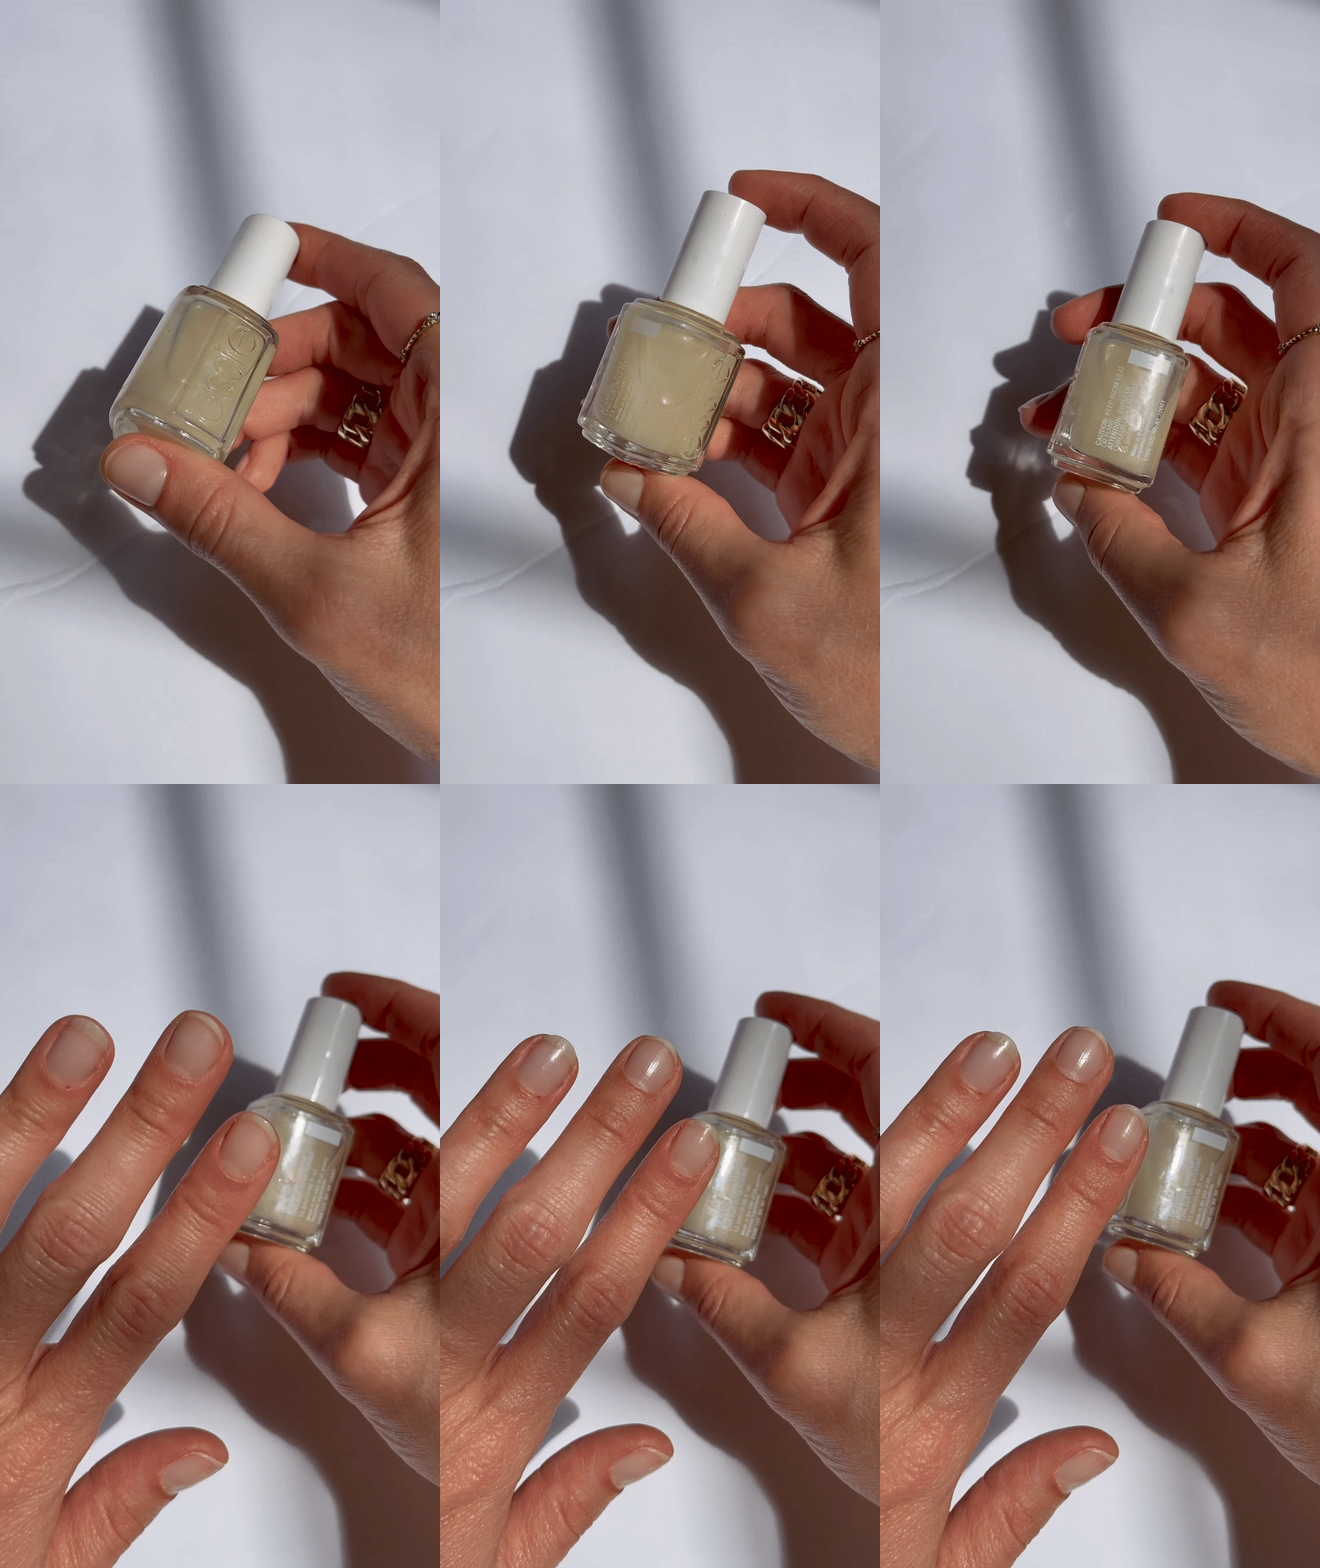
For those with damaged or ridged nails, apply 1-2 coats of a quality base coat. This will create a smooth, even base for the wraps to lay on. Allow base coat to fully dry before applying the wraps.
Select
Step 3
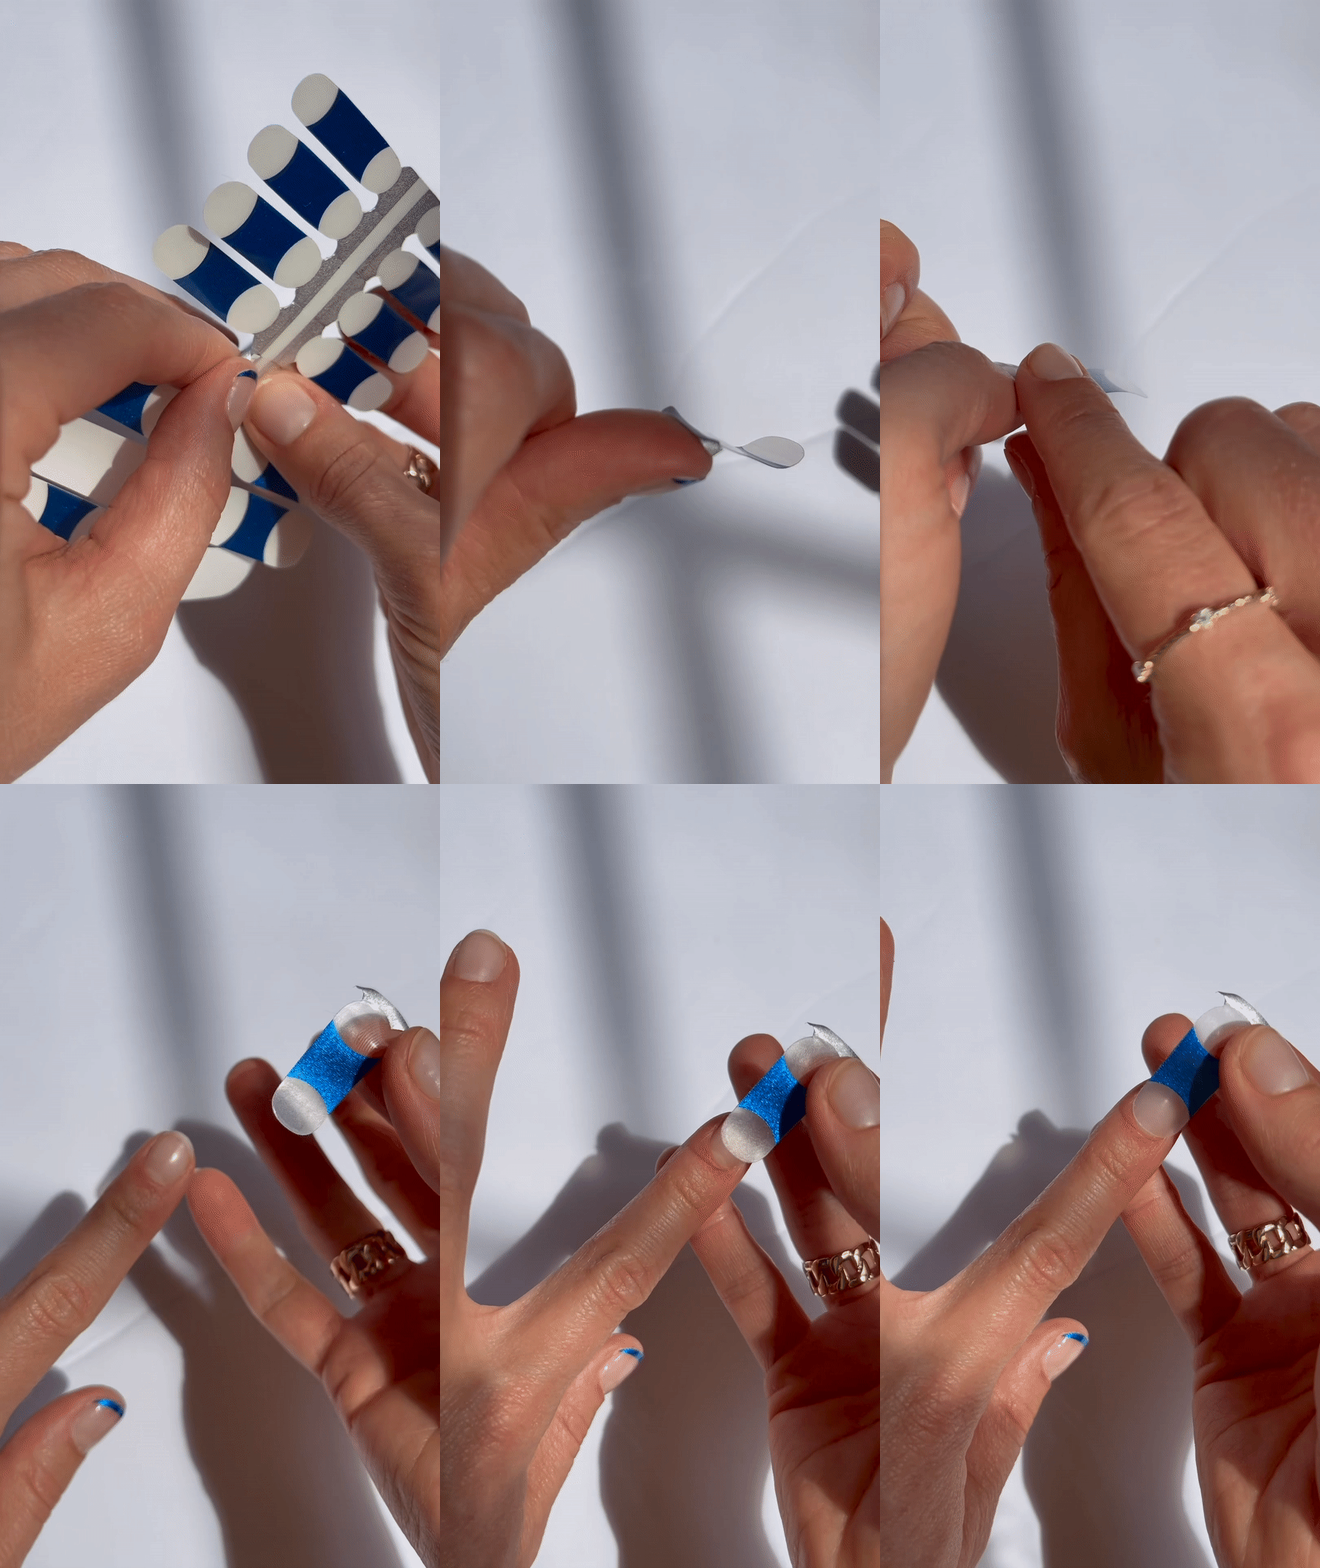
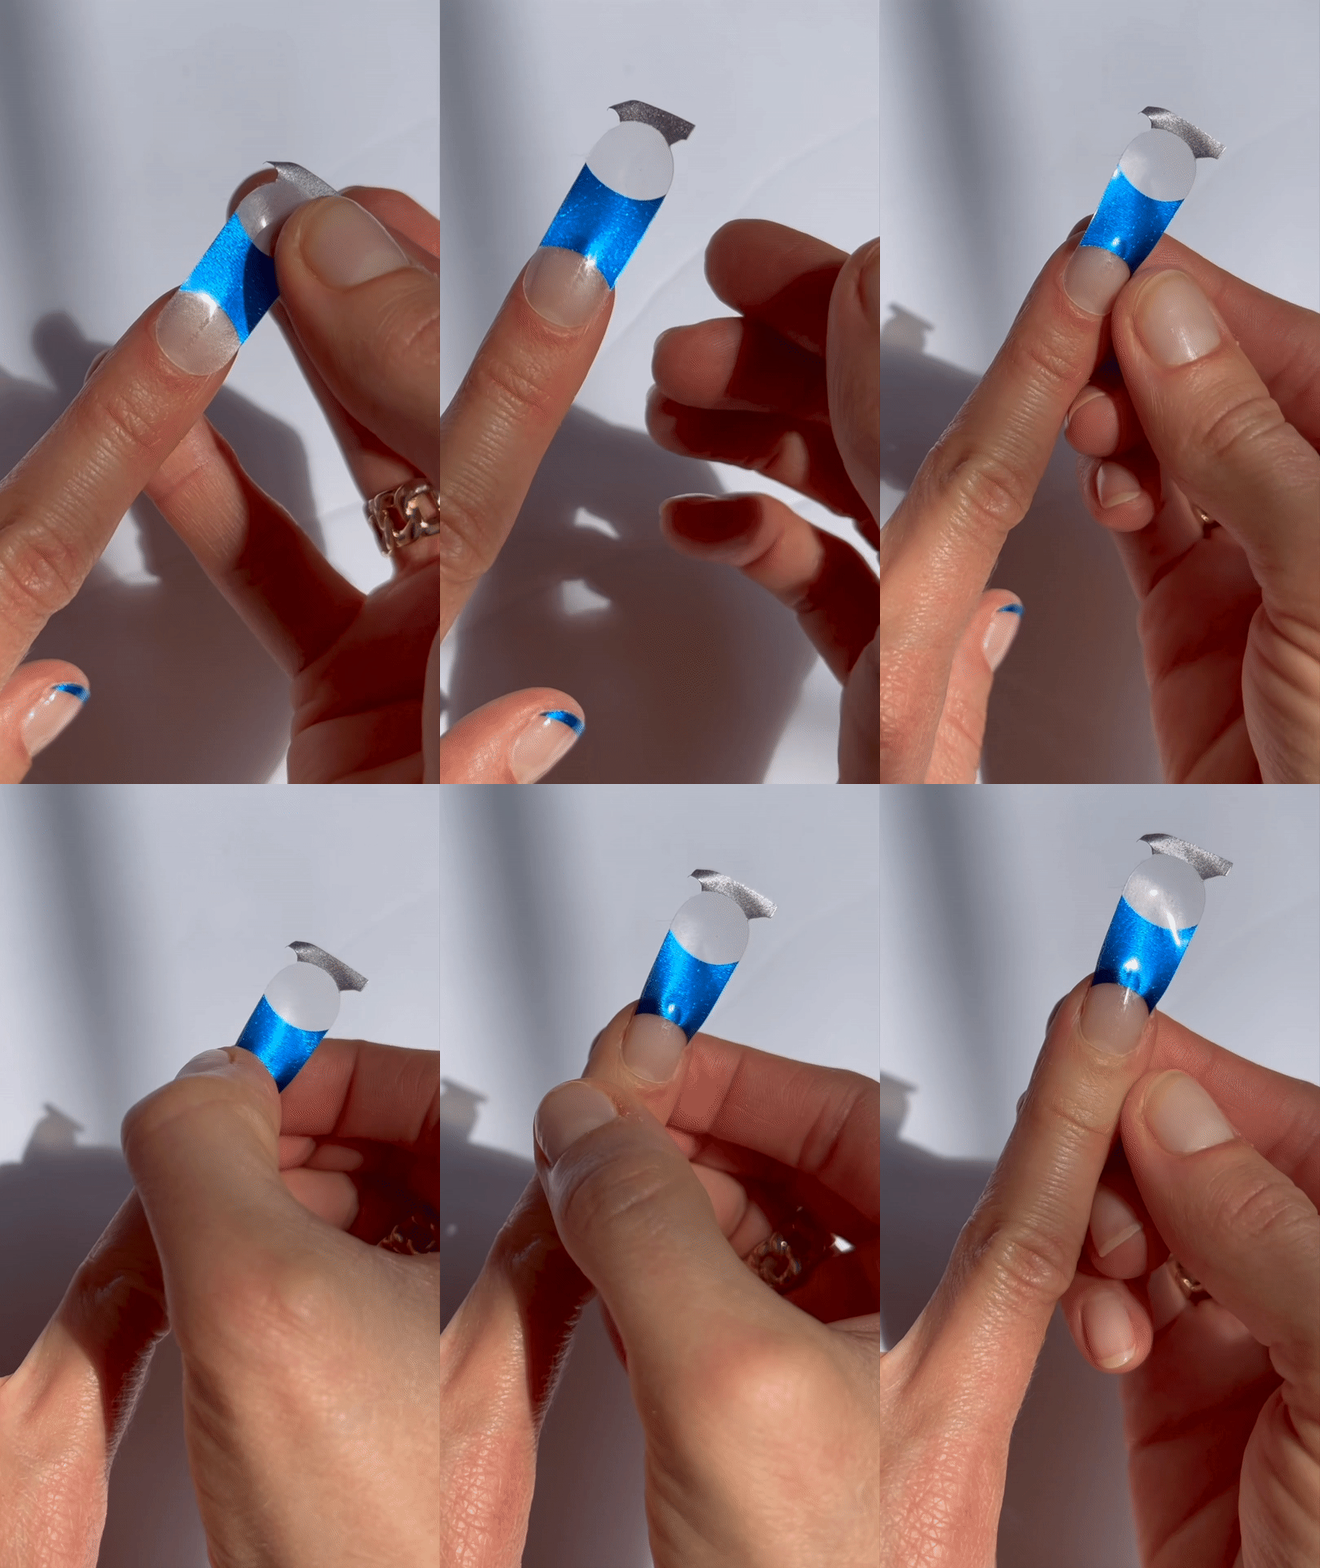
Select the correct size wrap for your nail, remove plastic film and pull from silver tab.
Tip: Store leftover nail wraps in our BP pouch for later use.
Apply
Step 4
Align wrap just above cuticle and press down, smoothing upward until wrap is fully adhered to nail bed.
Tip: Avoid touching the sticky side of the wrap to prevent adhesive from weakening.
Trim Excess
Step 5
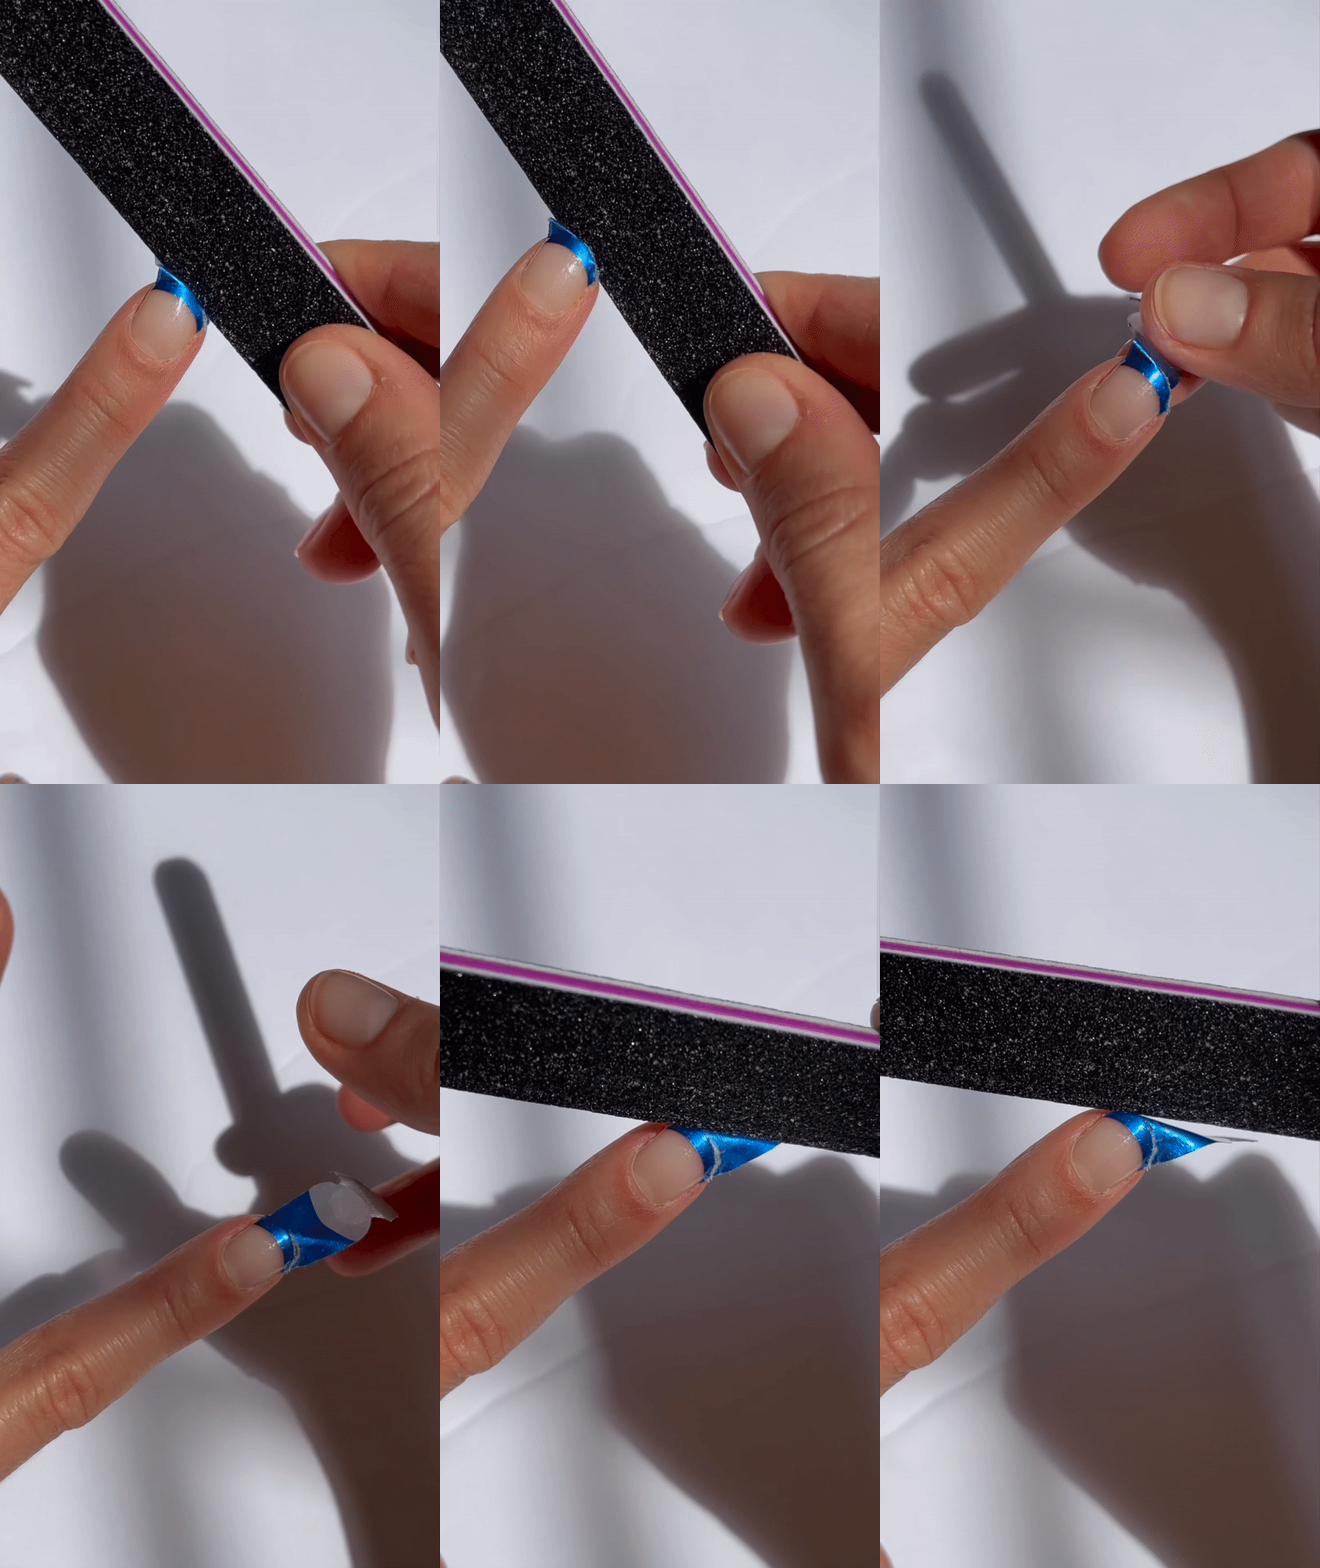
Crease wrap over your nail, press wrap slightly under free edge and file off excess. Be sure to file at a 45° angle to avoid filing directly on the tip.
Seal & Protect
Step 6
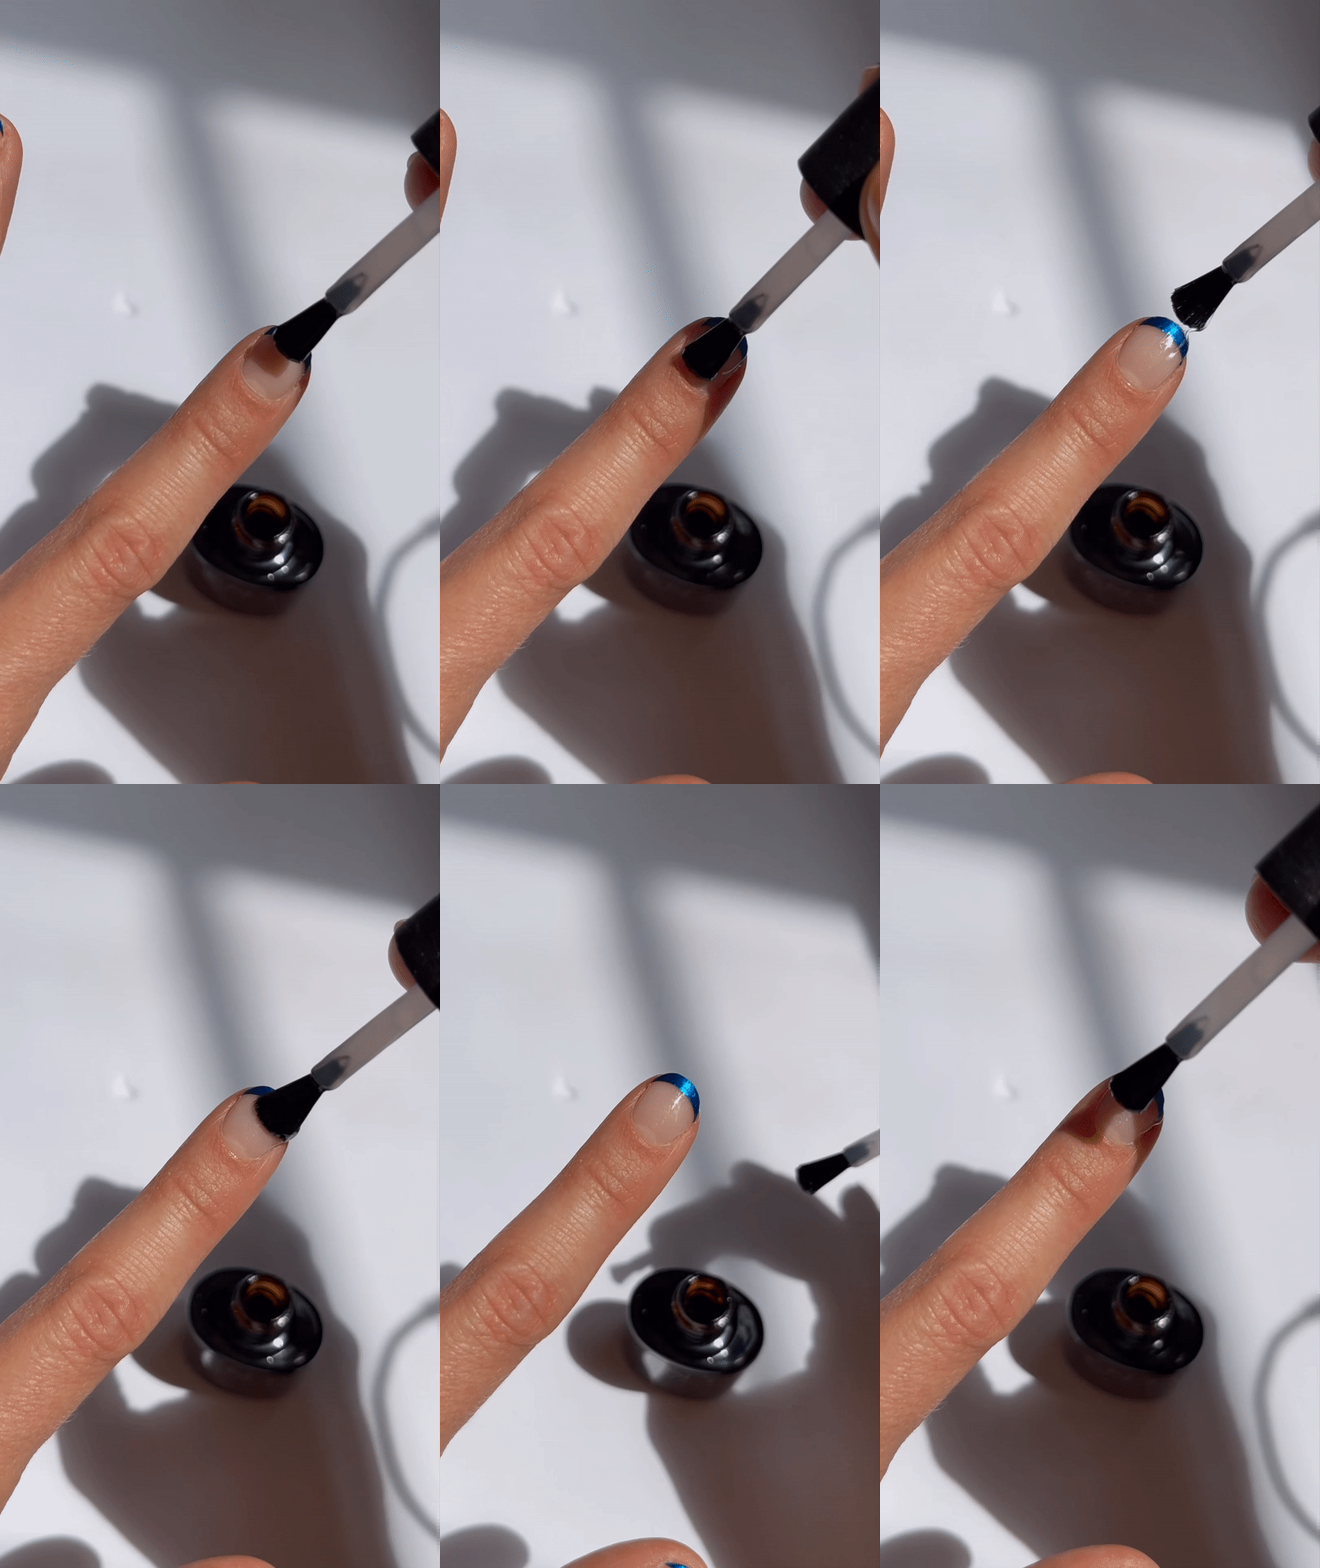
Apply 1-2 coats of a quality top coat for lasting shine and durability.
Share
Step 7
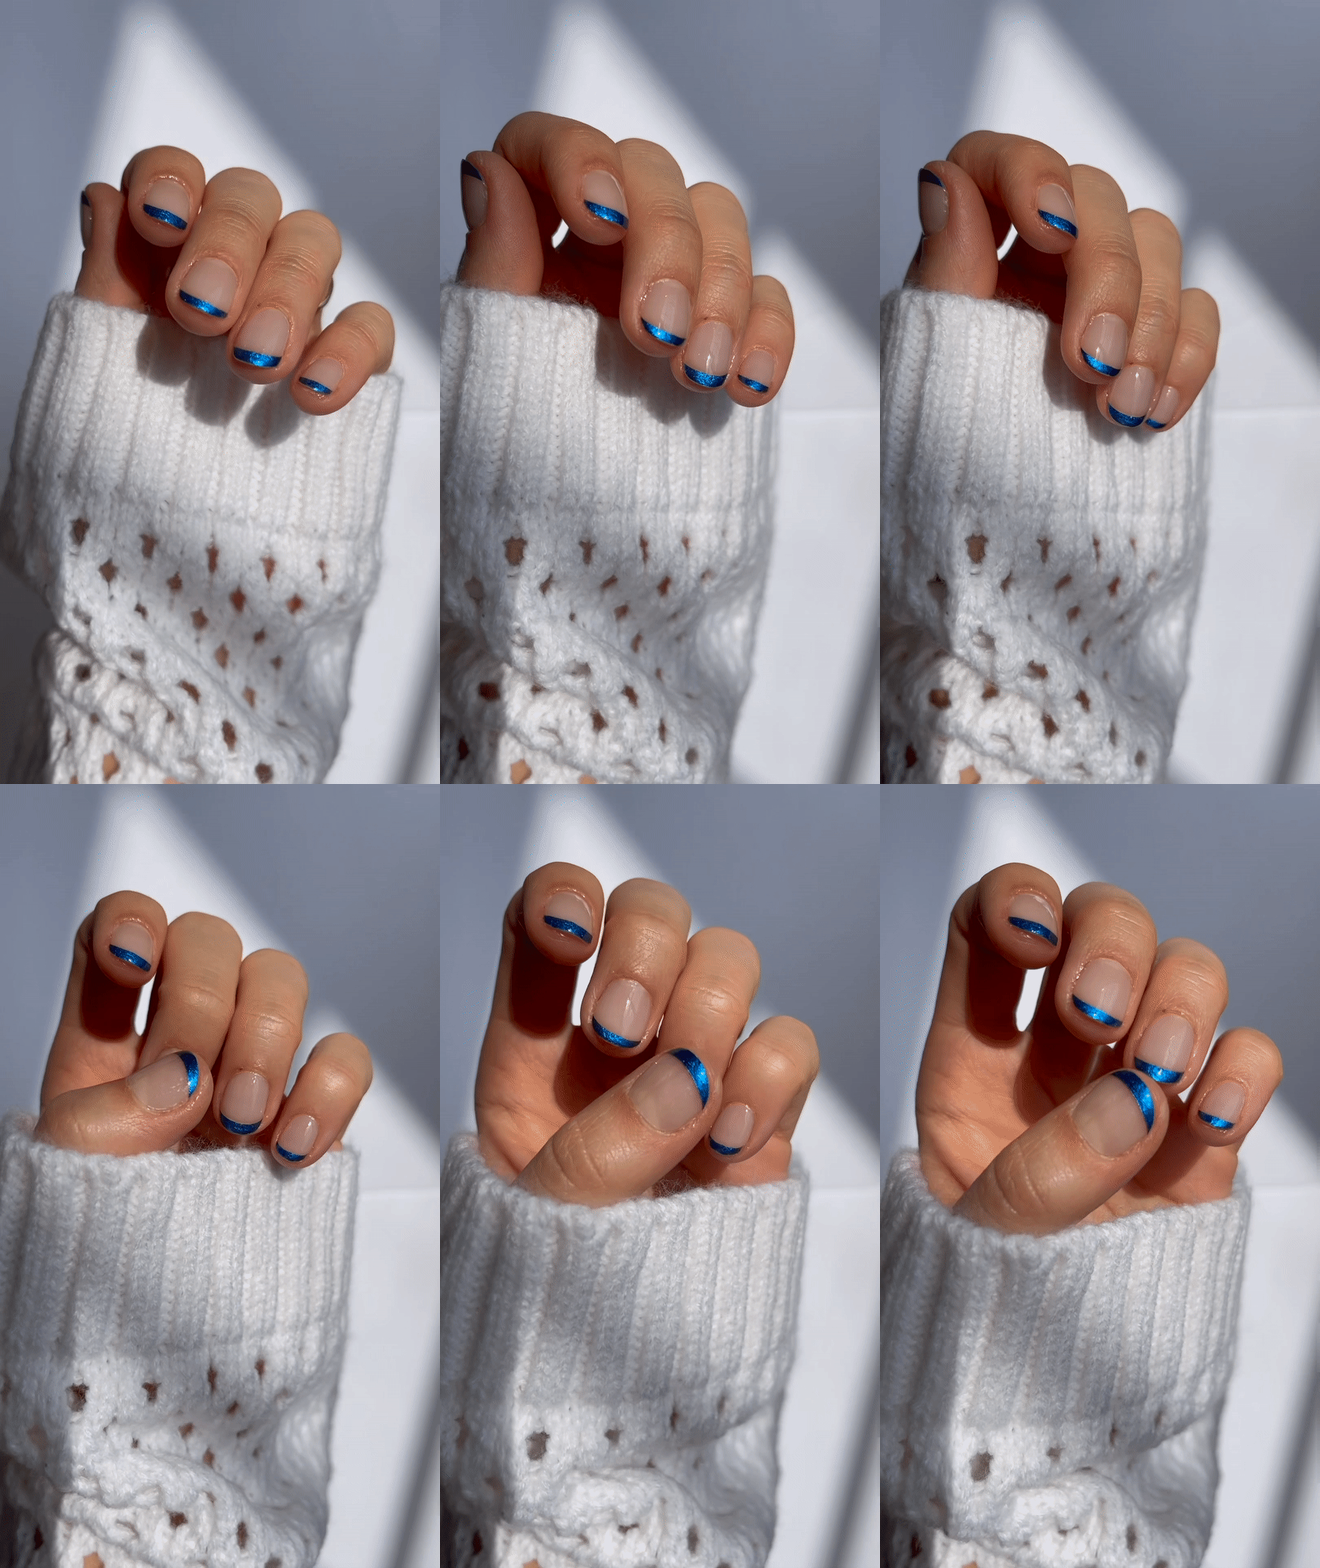
Done! Now admire your fresh mani and wait for the compliments to pour in.
Tip: We love seeing your finished manis - share & tag us on Instagram!
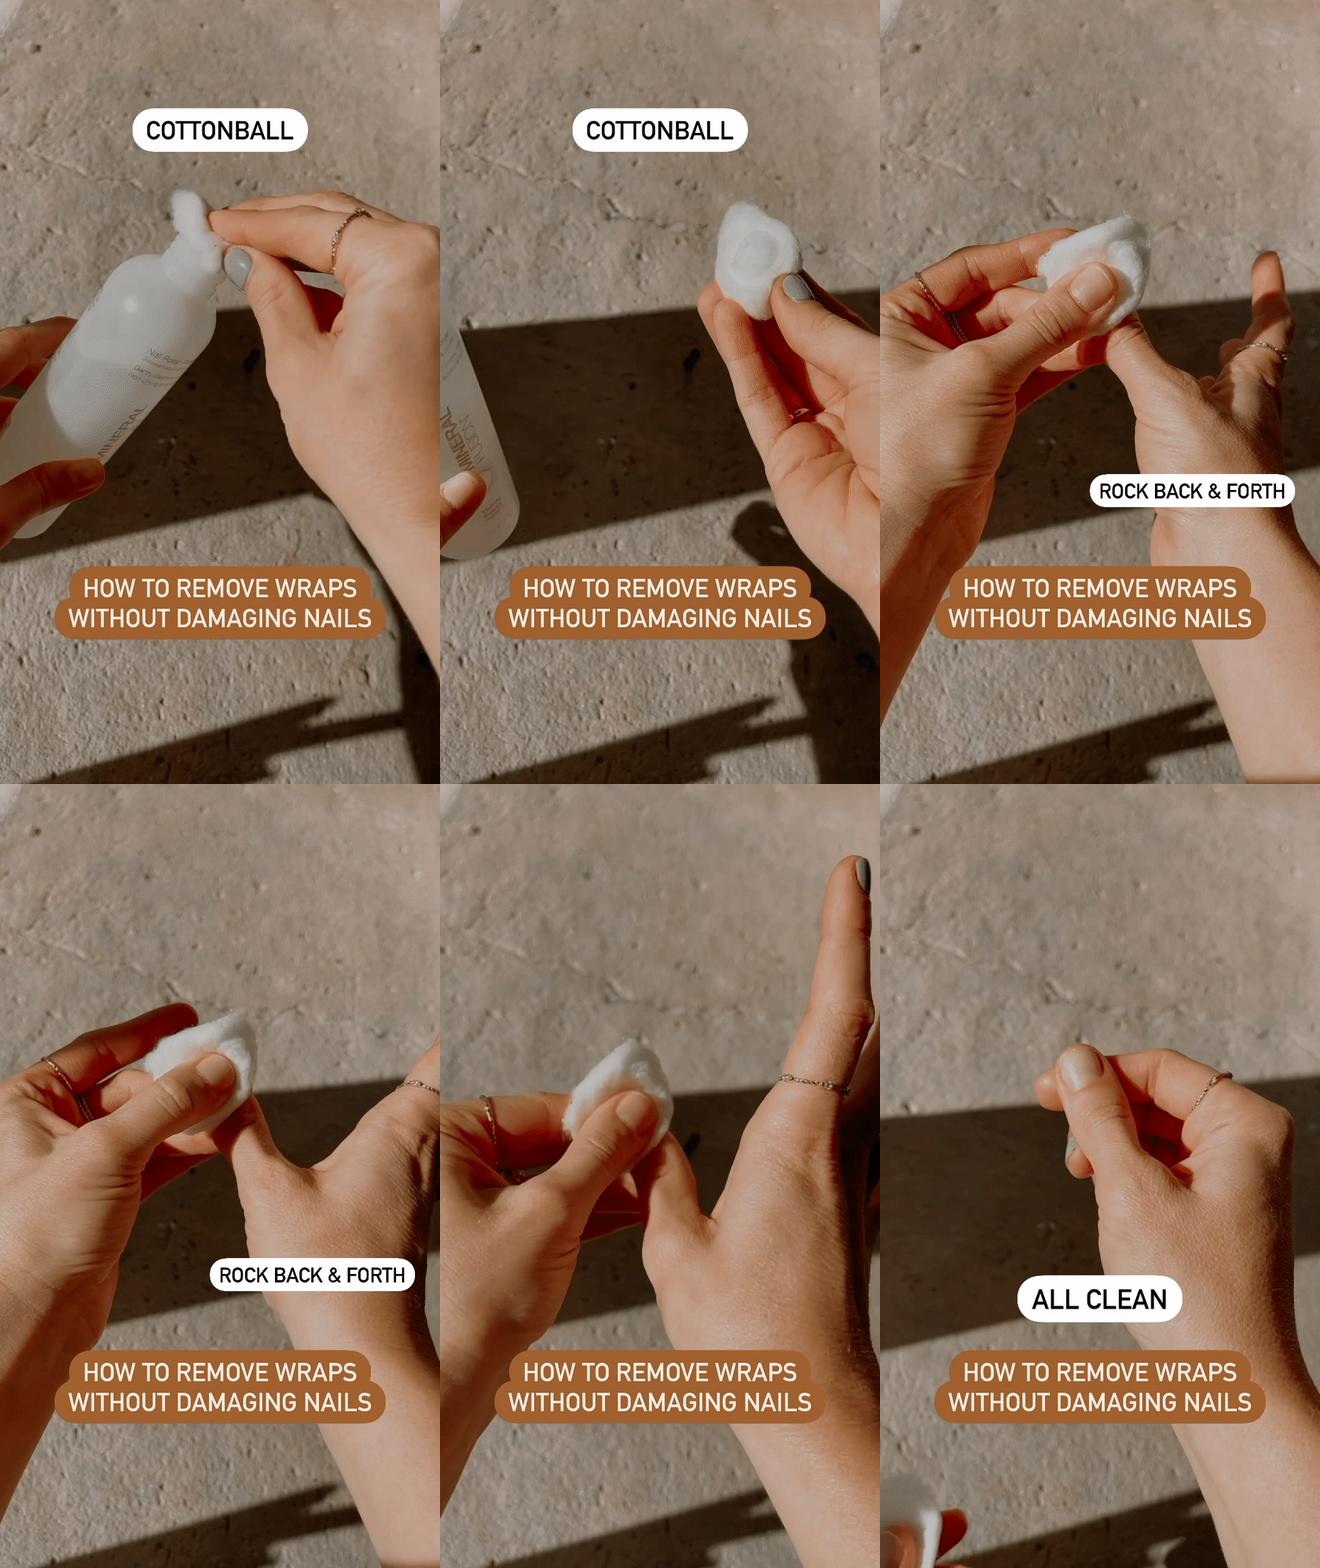
Removal
Apply nail polish remover on a cotton pad, hold over nail for 20 seconds and wipe away until wrap is removed. Repeat for each nail.
Tip: Once removed, buff nails and apply a layer of base coat to keep nails strong in between applications.
