How To Apply
Gel Wraps
Prep
Step 1
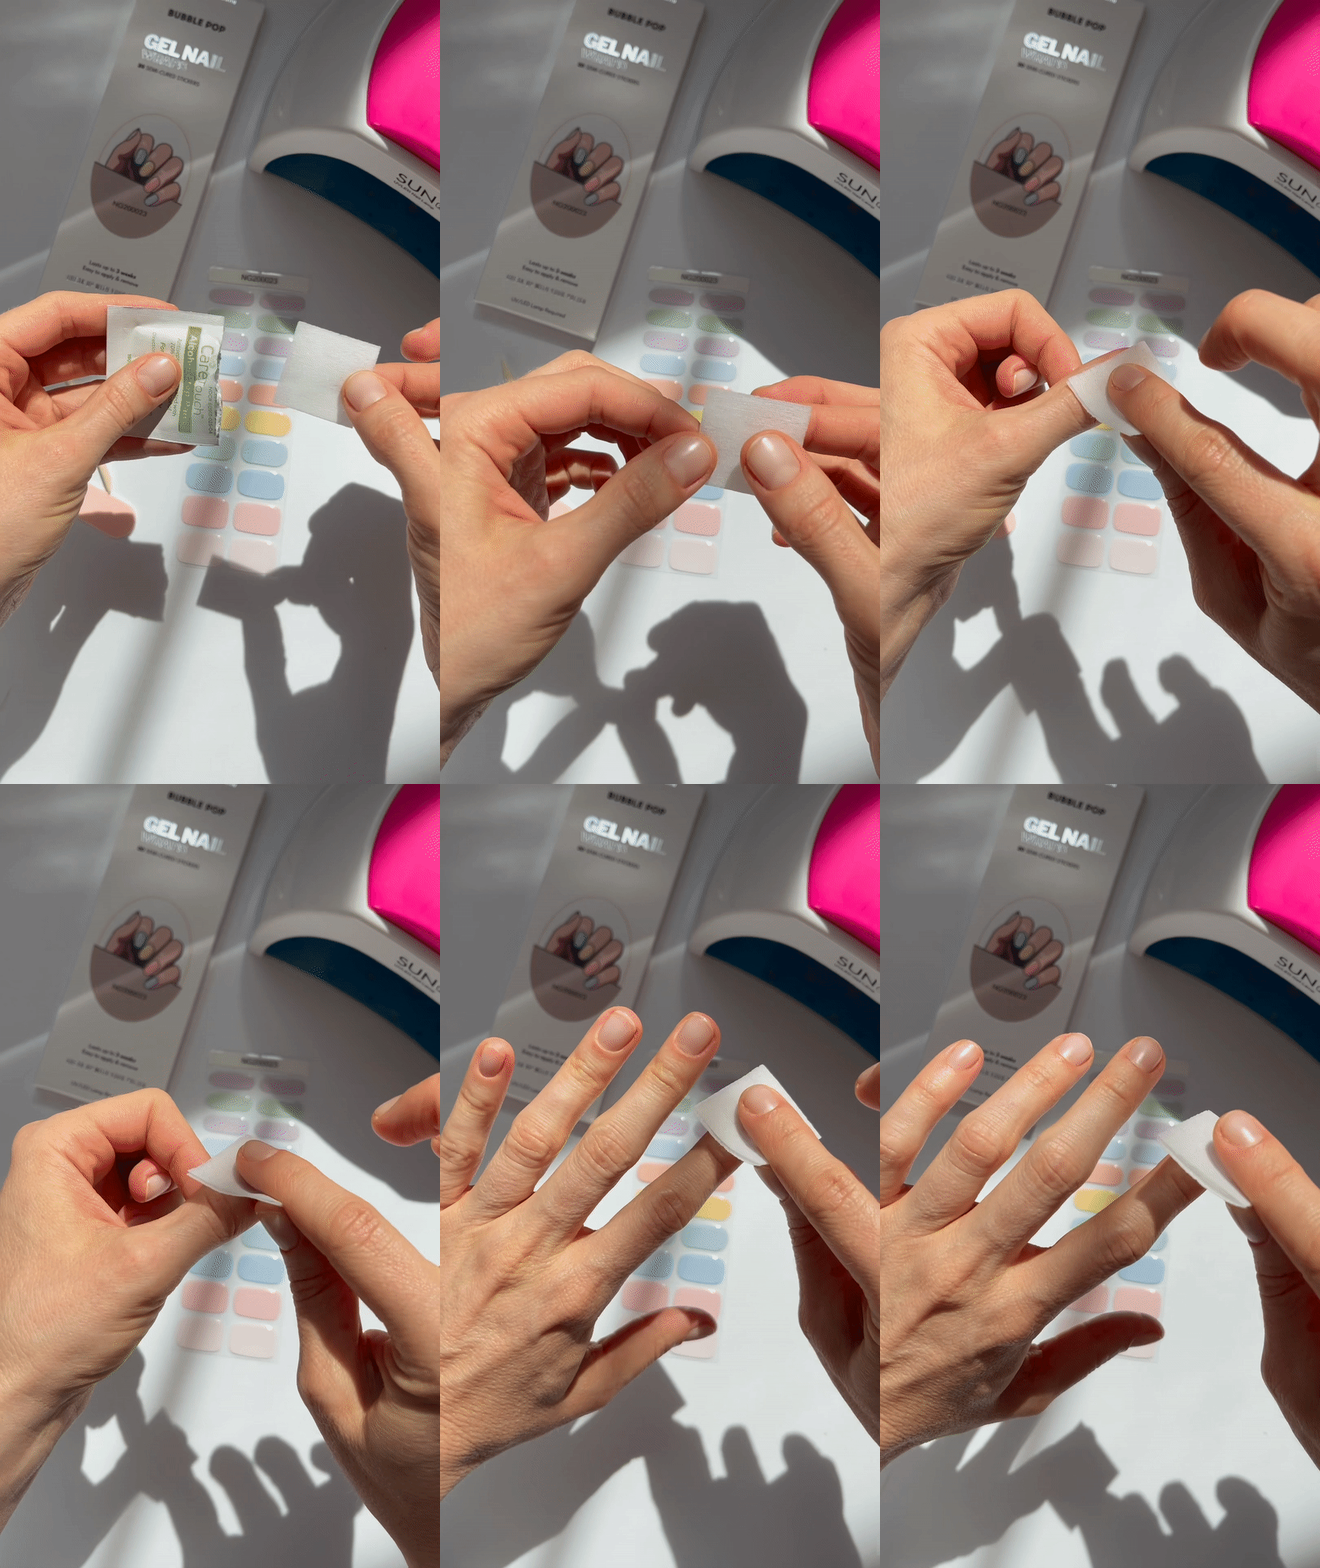
Start with clean, filed nails. Swipe nails with an alcohol prep pad to remove excess oils & debris from nail beds. This will allow for a better adhesion.
Tip: Avoid moisturizers, cuticle oils and water at least an hour before application.
Foundation
Step 2
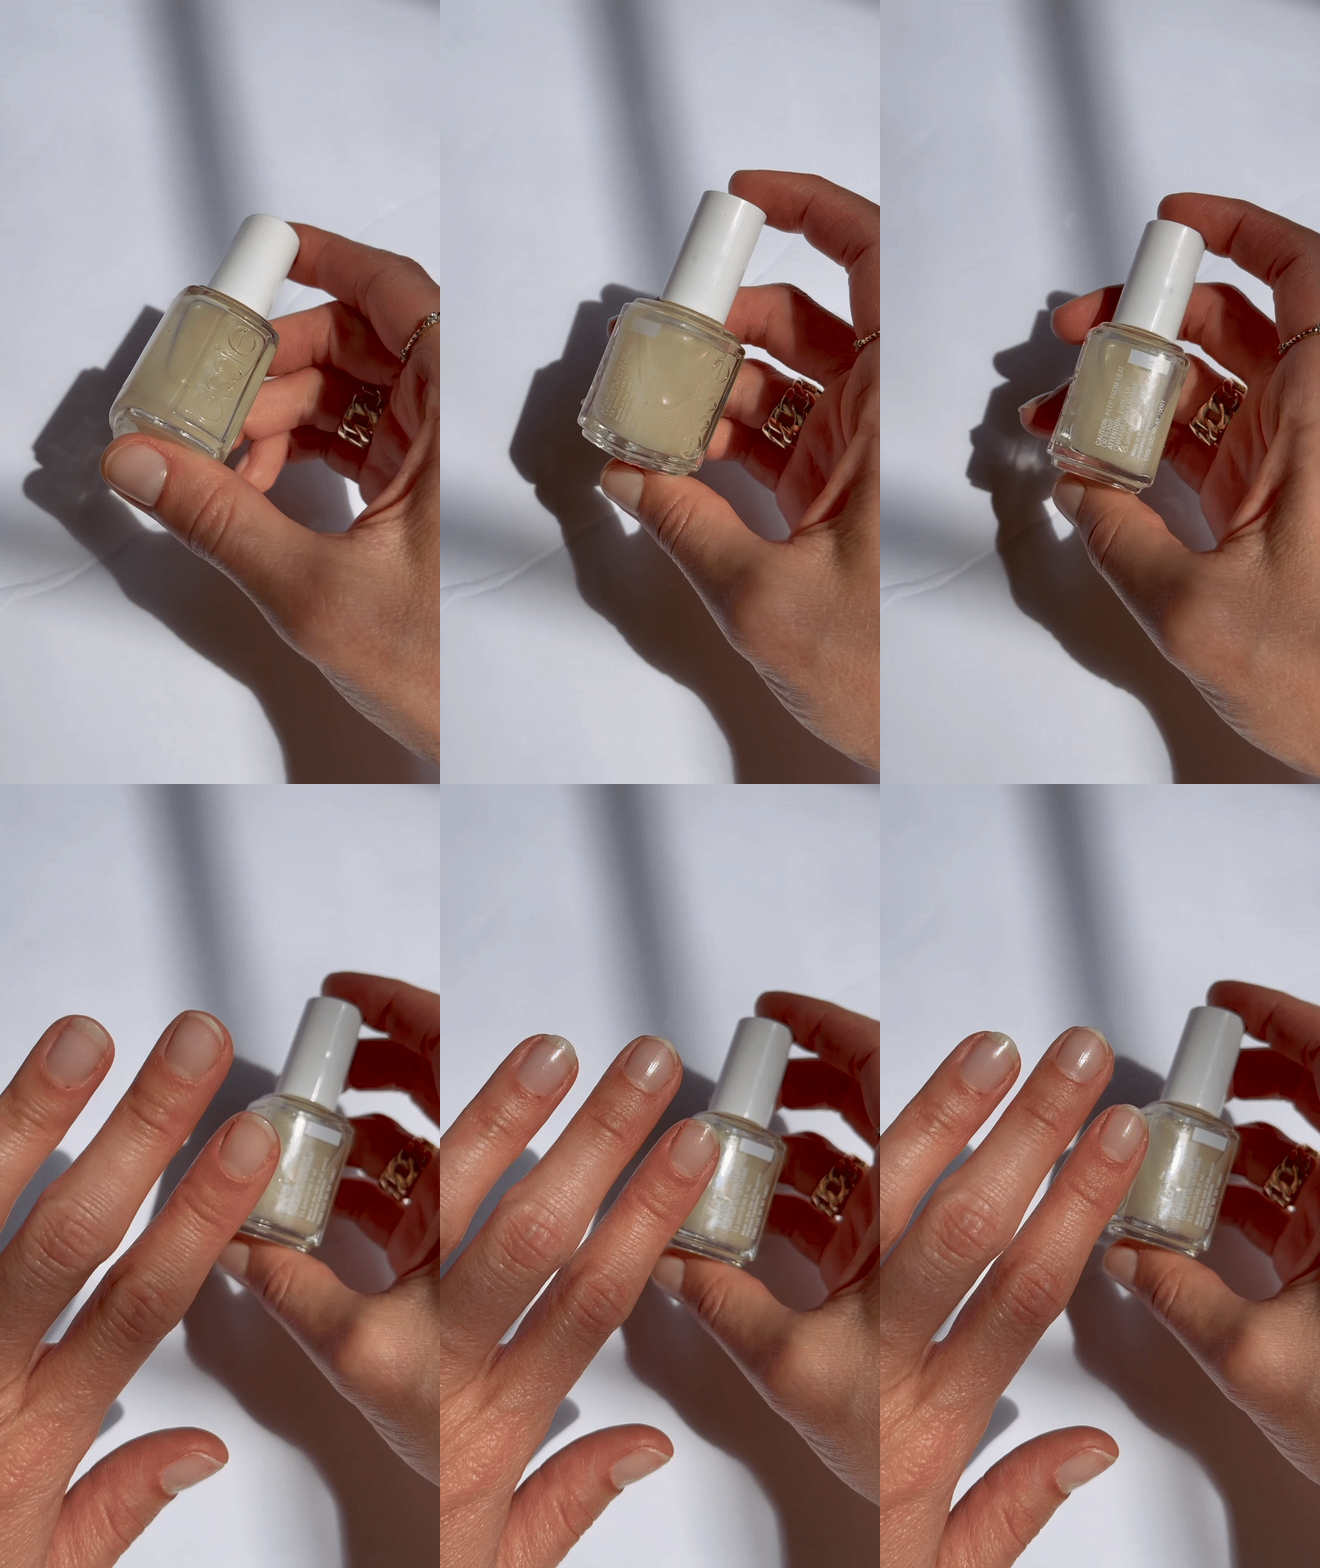
For those with damaged or ridged nails, apply 1-2 coat of a quality base coat. This will create a smooth, even base for the wraps to lay on. Allow base coat to fully dry before applying the wraps.
select
Step 3
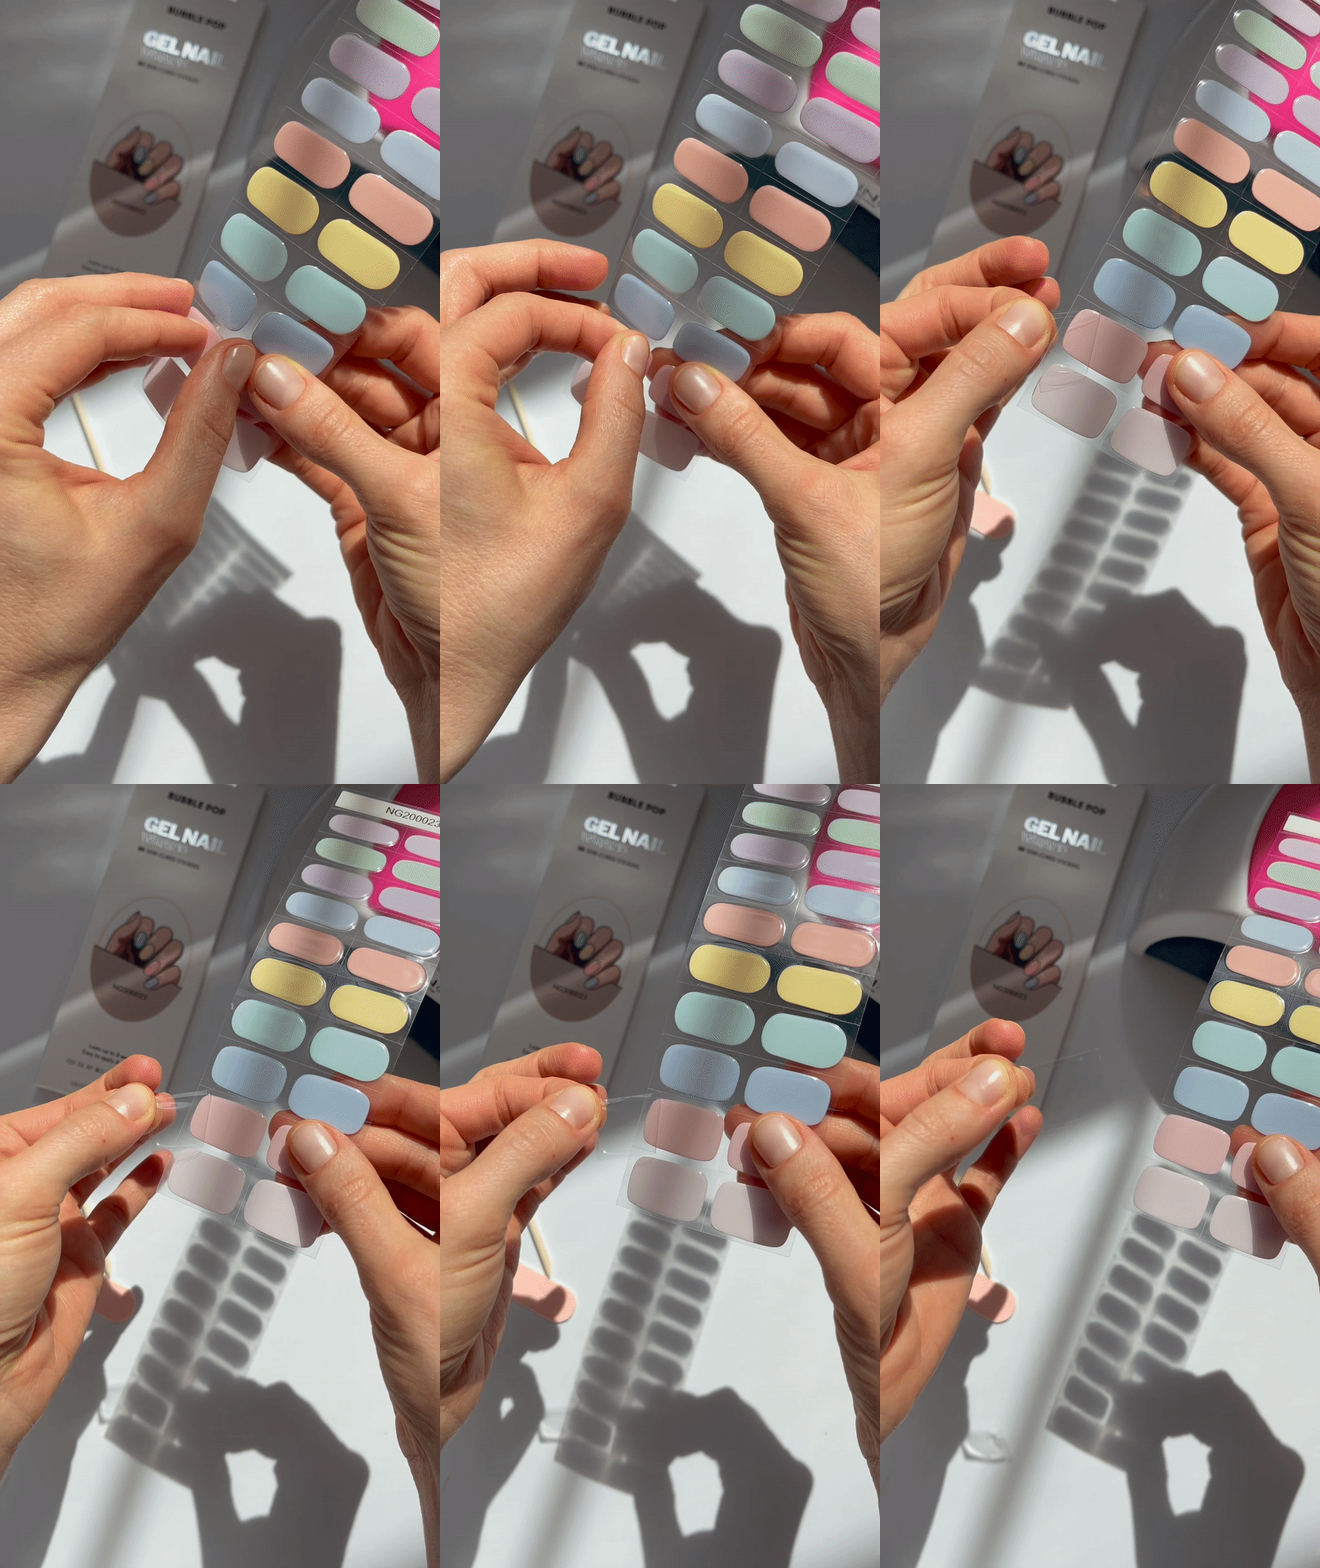
Select the correct size wrap for your nail, remove protective film.
Tip: Store unused gel wraps in the black pouch it came in and place in an air tight bag, like our BP pouch, for later use.
Apply
Step 4
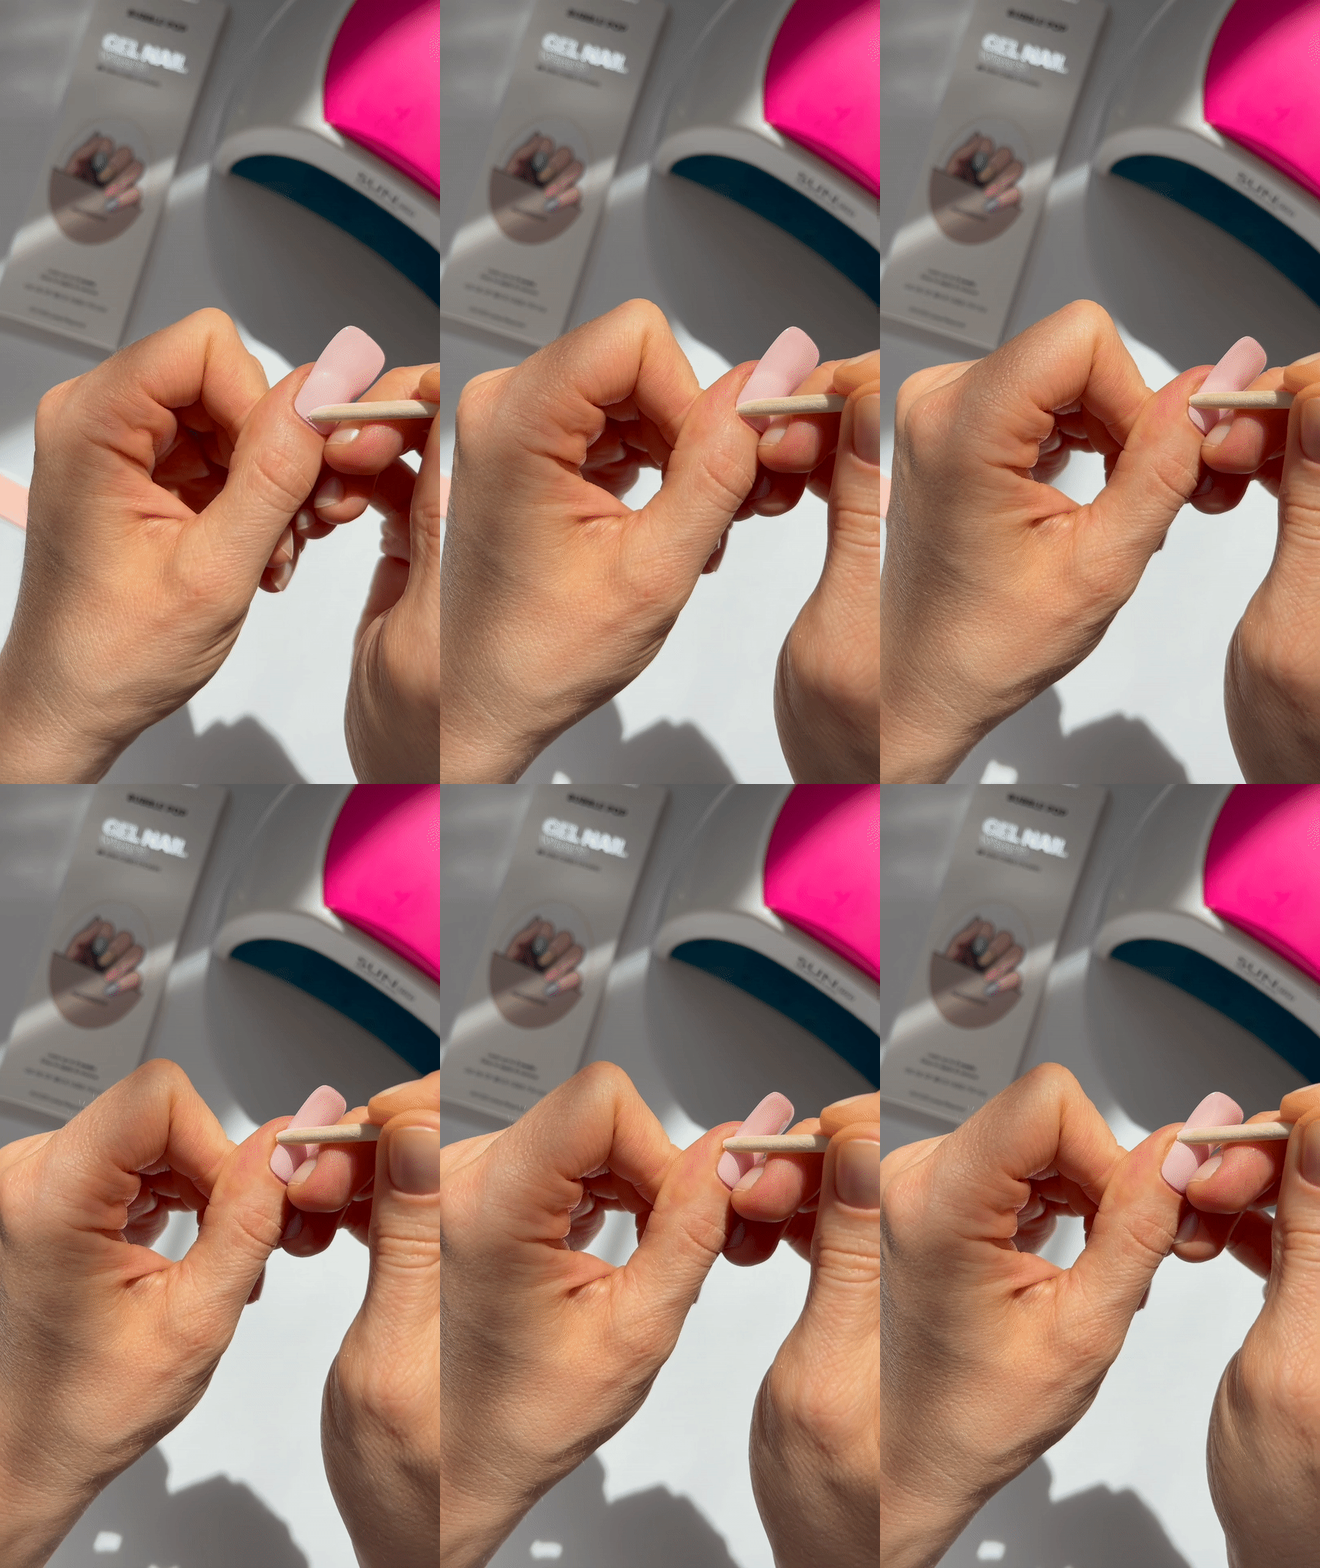
Align wrap just above cuticle and press down, smoothing upward until wrap is fully adhered to nail bed. Use wooden stick to apply pressure around edges ensuring they are adhered properly.
Tip: Avoid touching the sticky side of the gel wrap to prevent adhesive from weakening.
Trim Excess
Step 5
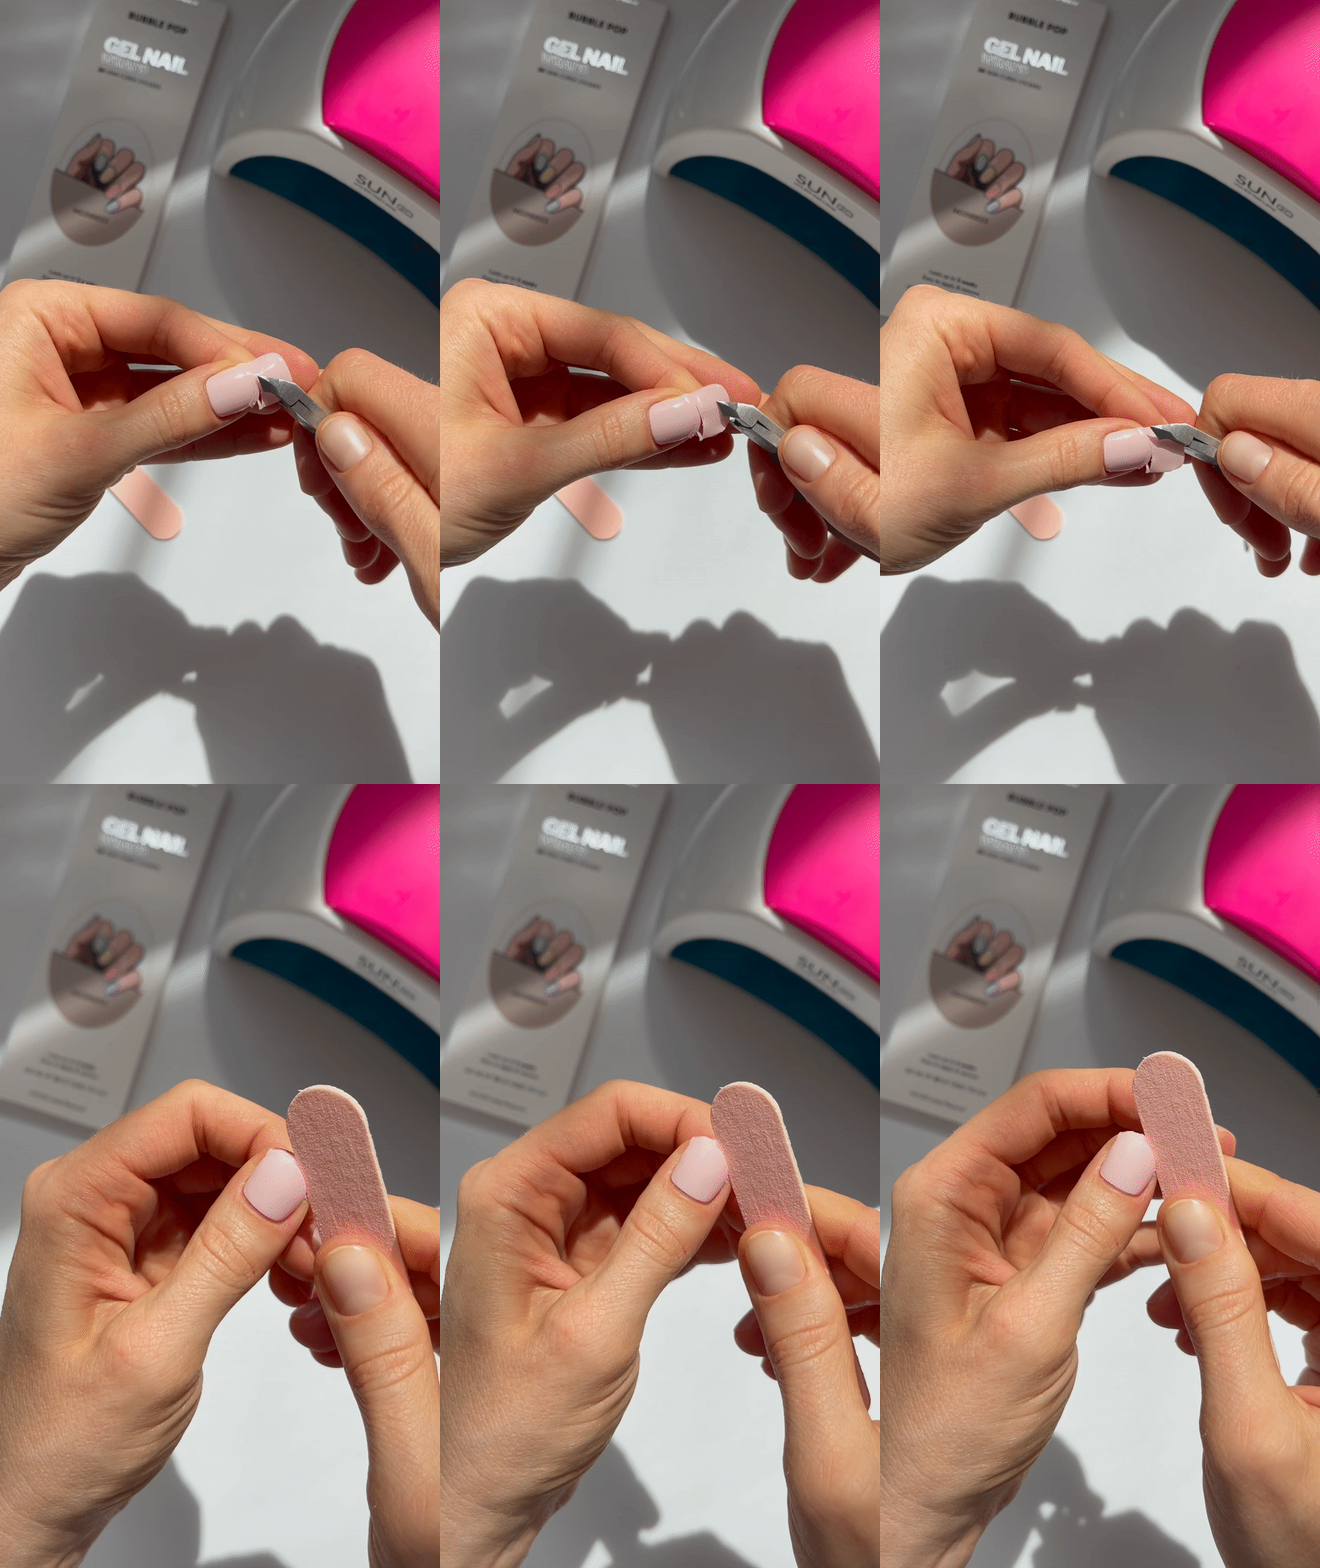
Trim the excess using nail clippers or nail scissors. Smooth edges of nails with file.
cure & file
Step 6
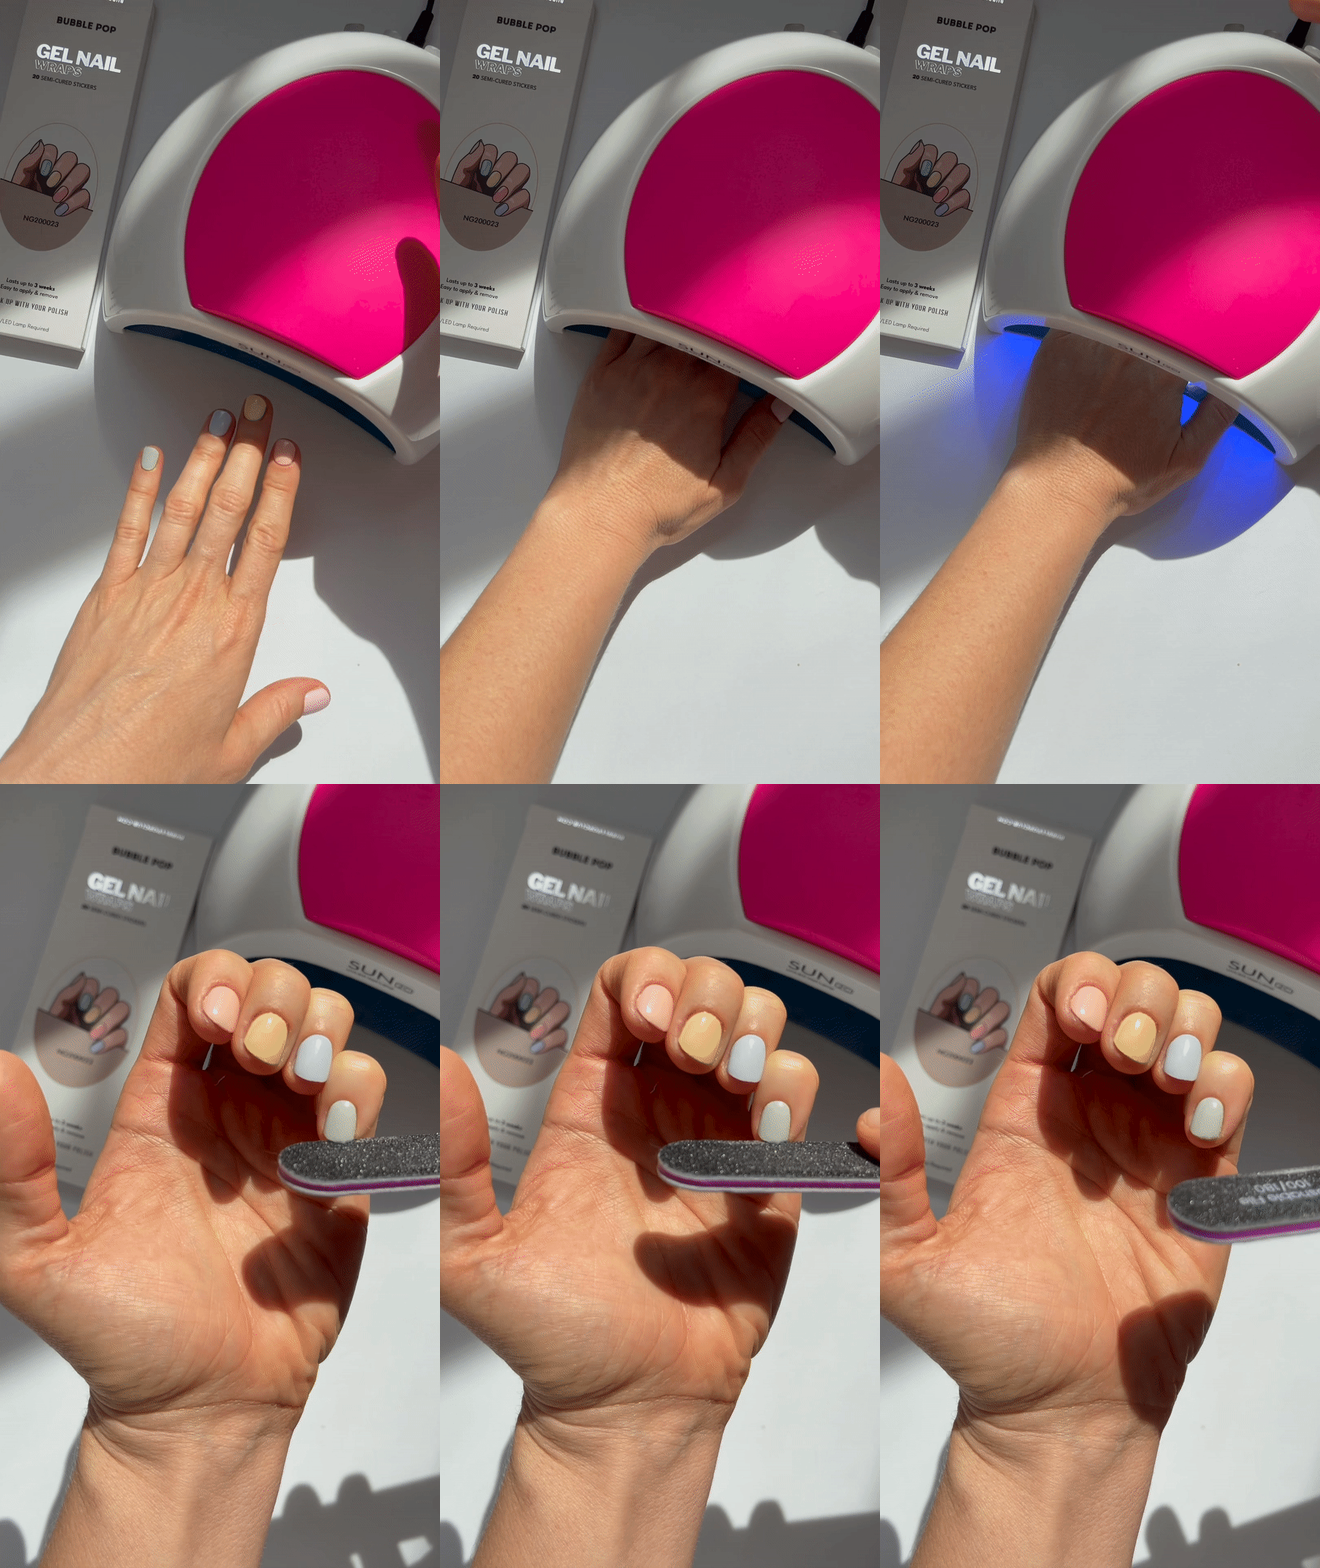
Cure for 60 seconds under UV/LED nail lamp. Lightly smooth edges with file, if needed.
Tip: Make sure to cure your nails evenly.
Share
Step 7
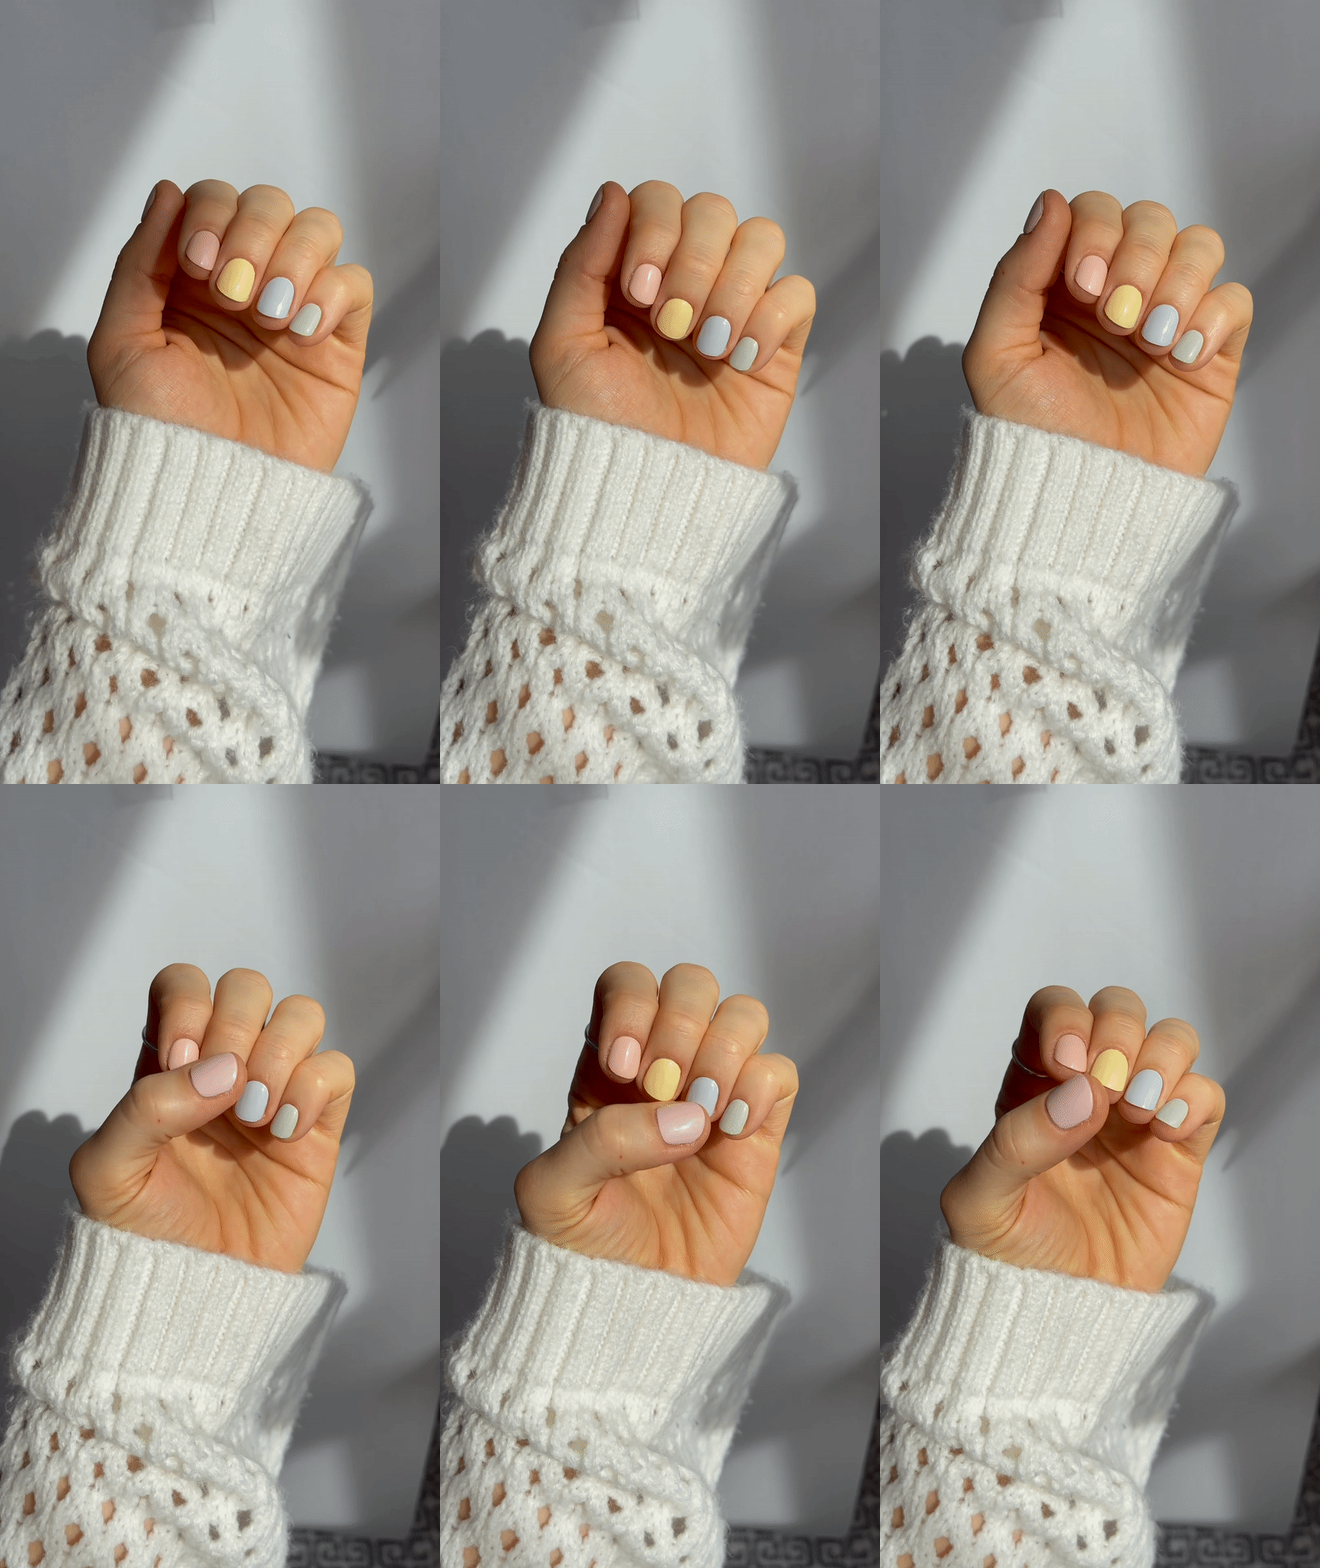
Done! Now admire your fresh mani and wait for the compliments to pour in.
Tip: We love seeing your finished manis - share & tag us on Instagram!
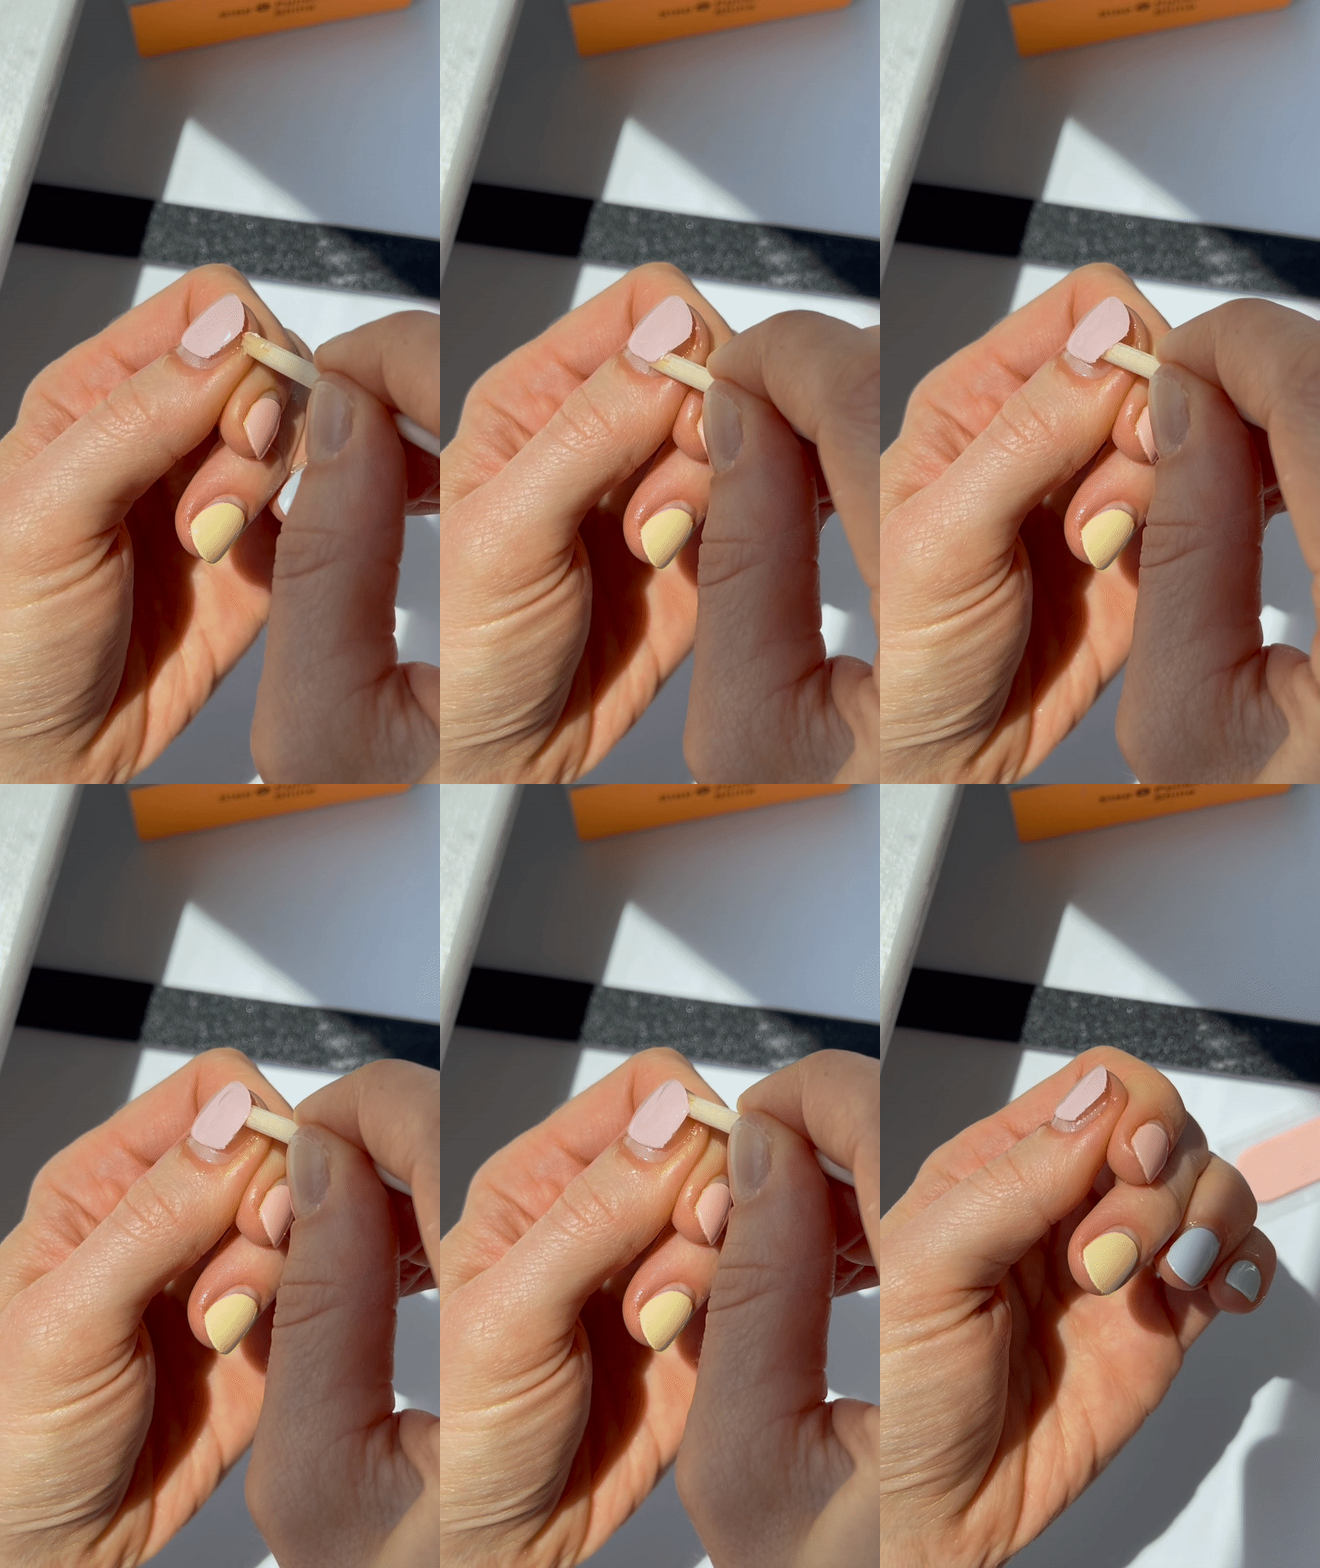
Removal
Apply cuticle oil along the edges of the wrap and wiggle the wooden stick underneath the edges of the wrap. Then, slowly lift the wrap away from the nail. Repeat until each nail is removed.
Tip: Once removed, buff nails and apply a layer of base coat to keep nails strong in between applications.
